Niresh Mac Os X Mavericks 10.9 Dmg Mac Drivers Download Updated
Niresh Mac Os X Mavericks 10.9 Dmg Mac Drivers Download
Hey guys, Here is a guide on "How to install OS X x.9 on a PC with a Gigabyte 990FXA Series Motherboard and AMD FX Series CPU".
It will as well show yous how to dual boot windows and OS X and even run the same windows install within of OS 10 with VMWare Fusion.
Before we offset, Here is the exact specification i am using for my Hackintosh install.
- Motherboard: Gigabyte 990FXA-UD3
- CPU: AMD FX-6100
- Memory: Corsair Vengeance 8GB 1600Mhz (2x4gb)
- Graphics Menu: Sapphire AMD Radeon Hard disk 7850 2GB OC Edition (1002 6819)
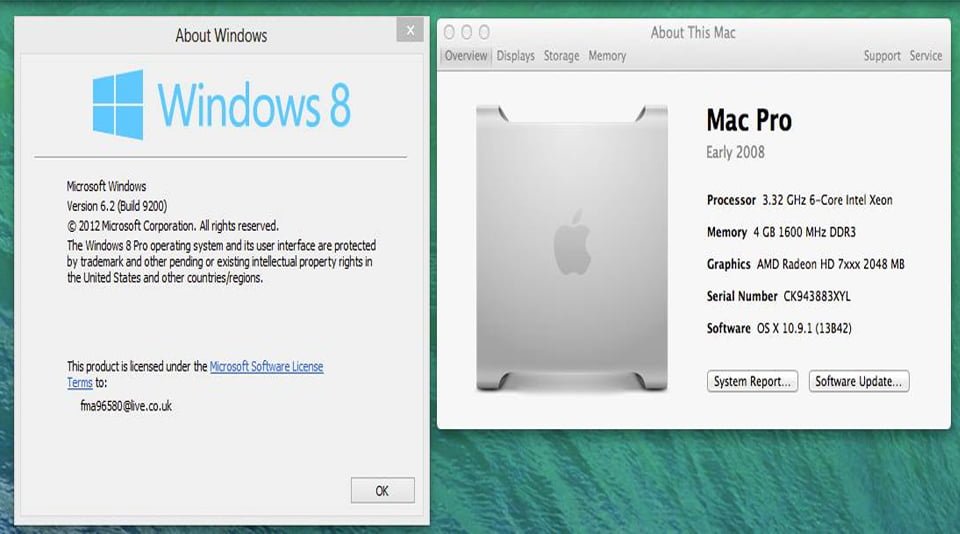
- Operating Systems: Windows 8 and OS X x.9.i
Ok so although this guide is intended for install on the above hardware information technology may or may non work on other hardware, It volition most likely work on the UD3, UD5 and UD7 motherboards aswell as most mod Radeon HD Graphics.
Requirements
The following items volition be required in gild for this to work.
- Windows 7, 8 or eight.1 (DVD or USB)
- Niresh 10.9 (Torrent:http://www.niresh12495.com [it's the most downloaded file currently])
- A USB Pen (Niresh - 10.9 - Mavericks USB Version.zip) or Dual Layer DVD+R (Niresh - 10.9 - Mavericks ISO Version.zero)
- Access to both Windows and the Niresh Mavericks USB at the aforementioned time.
- Y'all demand to take your time and be patient. Both windows and OS X take some time to install.
- 1 HDD that is able to be completely formatted (wipe partition table)
Note: y'all don't need Windows if you lot don't want to dual boot
Preparation
I am non going to encompass how to write the DMG file to a USB pen or DVD and instead volition but link you to http://world wide web.macbreaker.com/2014/01/instal...iresh.html (Stride 1a if your currently in Bone X and 1b if your in Windows)
So once y'all accept the Bootable USB/DVD with Niresh on it we are ready to brainstorm.
We need to format the HDD with the sectionalisation type MBR (for some reason when i did this with windows it didn't work) to exercise this volition shall boot to the Niresh USB/DVD and at the prompt highlight "Niresh Mavericks" and just type "amdfx GraphicsEnabler=No PCIRootUID=one -v" and press "Enter".
If you don't plan on dual booting you lot tin can skip to "Installing Os X 10.ix".
After a short time information technology should start booting to the OS X installer, Select your language and and so in the carte bar Select Utilities > Disk Utilities > Select the HDD you desire to use > Sectionalisation > two Partitions and then prepare the 1st as MS-DOS (FAT) name it "Windows" and the second as "Mac OS Extended (Journaled)" name it "Mavericks" at present select "Options" and make sure it'south set to "MBR (Primary Boot Record)" then press "Employ"
OK now the HDD is properly partitioned, We now move on to installing Windows.
Installing Windows seven, 8 or eight.1
This is installed just similar normal, Except you demand to make sure it doesn't install the UEFI version (make sure to select the non UEFI DVD/USB entry from the kicking menu)
Once your at the install simply do a "Custom Install" then install windows to the 1st Partition information technology will need to be formated to NTFS via the format button below prior to being installed.
Afterward the install is consummate go through the standard welcome screen and postal service install setup and then we can motion on to installing Niresh's OS 10 10.nine
Installing Niresh Bone Ten x.nine
And now nosotros are on to the main result, Installing OS X.
Boot to the Niresh USB/DVD and then at the prompt highlight "Niresh Mavericks" and simply type "amdfx GraphicsEnabler=No PCIRootUID=1 -5" and press "Enter"
At present you should exist back at the Bone X install screen, This time we will actually install it, Follow the on screen sorcerer until you get to the HDD Select page and then select the "Mavericks" disk but DO Not PRESS Adjacent/INSTALL instead press "Customize" and uncheck the selection "GraphicsEnabler" located under the "Graphics" section.
At present you can begin the install. Press the install button and ready to wait a while depending on your SSD/HDD.
Fixing A Few Issues With OS X
Ok now nosotros have OS X and Windows installed only well-nigh likely booting Os X from the HDD won't work and instead you will demand to use the USB/DVD.
So over again boot to the Niresh USB/DVD but so at the prompt highlight "Mavericks" instead of "Niresh Mavericks" enter ' "Kernel Cache"=amd GraphicsEnabler=No PCIRootUID=1 -v ' note the quotes need to be entered around the words "Kernel Cache".
Later a piddling while it should kicking to OS 10 and ask you to enter various information for the welcome screen, Later on you have entered this you should be at either the "Login Screen" or the "Desktop".
If your using the exact aforementioned card equally mine you most likely are not running at native resolution and are instead forced to 1024x768, To set this we need to alter 2 kext files, if your running at native resolution skip the stride below.
Load up a Terminal (Search > Final) so type "sudo su" and enter admin password, At present blazon "nano /Organization/Library/Extensions/AMD7000Controller.kext/Contents/Info.plist" and and then notice "68181002" and modify it to your device and vendor ID (mine is 68191002) once done press "Ctrl or Win + X" and so echo the same modify for "/System/Library/Extensions/AMDRadeonX4000.kext/Contents/Info.plist".
At present the graphics is sorted provided your using a similar card to mine atleast, At present we can sort out problems with the bootloader on the HDD, Download "Chameleon Magician" then run it and select "Boot0HFS" as the install mode and so printing "Install".
Now reboot and you should exist able to boot from the HDD and select the "Mavericks" option, you may need to enter "GraphicsEnabler=No" and "-v" is useful to see more detailed/verbose information.
Congratulations you are done sorting out Bone Ten, The steps below are optional but highly recommended.
Updating the AMD Kernel and OS 10
Then y'all successfully got Os X working on your system, Now we should update Bone X to the latest version (ten.9.i as of the fourth dimension i was writing this) and the AMD Kernel to a newer and faster version.
Download the following file http://www.osx86.internet/files/download/3736...4-support/ and excerpt information technology.
Next select "Get" on the bill of fare bar, and then "Go to folder" and then "/", This will put you to the root of the Bone X Division, At present we need to supercede the mach_kernel with the download mach_kernel file. Only copy and paste and confirm the hallmark.
Now we need to copy the downloaded "System.kext" to "/System/Library/Extensions/", once this is done you will well-nigh likely get some errors don't panic!.
Now we load "Kext Sorcerer" (installed with niresh) and select "Repair" and "Rebuild" nether the "/Arrangement/Library/Extensions/".
Once "Kext Wizard" is washed, Click the "Apple icon" in the "Card Bar" and select "Software Update" and "Update All", This will take a petty while, When asked to reboot say aye.
Now your system should reboot and you lot should be back at Os X at ten.9.1 instead of ten.9.0.
Running Windows viii Inside OS X Using VMWare Fusion
Ok then, Then far we have Windows and Os 10 installed to the same HDD on your PC, At present we will use the physical install of Windows inside of VMWare Fusion this volition allow the states to employ Windows both inside of Bone X and equally a actual kick choice.
Of Course this requires VMWare Fusion and this is a commercial piece of software therefore you will demand to learn VMWare Fusion prior to continuing.
Ok so now that you have acquired VMWare Fusion and installed it we can continue on to setting up the "boot camp" partition.
Firstly we demand to make sure that the windows partition is gear up to exist the agile partition, to do this we tin can load "Terminal" > "sudo su" > "fdisk -e /dev/rdisk0" > "f ane" > "write" > "y" > "exit".
Ok now information technology should accept set the windows partition as the agile partition, At present load upward "VMWare Fusion" and select "More Options" and and so "Install from bootcamp" so "Create bootcamp virtual machine".
At present the VM should be created and you should be able to simply start the VM and Windows seven, eight or 8.ane should showtime and outset the vmware tools install process. Now exit the VM and VMWare.
Now nosotros need to restore the agile sectionalization dorsum to OS X by doing the following load "Terminal" > "sudo su" > "fdisk -east /dev/rdisk0" > "f 2" > "write" > "y" > "exit".
And at present we are done! click the "unity" button in VMWare to integrate it even more. We now have VMWare with Windows + Windows every bit Dual Boot with Bone X.
Extras
R9 270 and R9 270x users can apply this file to get graphics working correctly (http://www.osx86.net/files/file/3711-amd...70-series/) DON'T UNCHECK GRAPHICSENABLER DURING INSTALL OF OS X
Thank you to Niresh and everyone else involved!
Niresh Mac Os X Mavericks 10.9 Dmg Mac Drivers Download
Posted by: cervantesparses.blogspot.com
Post a Comment for "Niresh Mac Os X Mavericks 10.9 Dmg Mac Drivers Download Updated"